Are you thinking of relocating your house? Or renovating your kitchen interiors? And are you worried about how you can move your kitchen island or even if it is possible to do so? Read through this article to know all about how you can move your kitchen island.
So can you move a kitchen island?
Absolutely, Yes!
However, your kitchen island can be moved around easily only if it has wheels or mobile kitchen islands. A professional may be needed to assist you with transferring an island that is not on wheels and has a kitchen sink, stove, or is electrically wired as additional relocating plumbing and electrical work will be required.
Did you know?
Kitchen islands initially appeared in America during the colonial period. Families prepared meals and then sat down to break bread at these basic worktables located near the home’s hearth. Today’s kitchen islands have become a hub and are used for innumerable activities.
In this article, we will go through detailed steps of moving your kitchen island, challenges/issues you could face while moving, alternatives to moving your kitchen island, and the cost of moving your kitchen island.
How Can You Move Your Kitchen Island?
Moving a kitchen island could be a part of your weekend cleaning habits or a complete house renovation project. In both cases, these are the general steps that could make the movement a lot easier for you.
Step 1: Decide on A Location Where the Island Needs to Be Shifted
A friendly piece of advice, think at least ten times about the location where you want to move your kitchen island. If you are taking your time and money in moving the kitchen island, you should be definite about its exact location. At last moving, the island should add to the general development kitchen remodel, right?
Begin by determining your island’s exact form and size. This will also assist you in choosing the location. You may proceed if you have the appropriate amount of free space in your selected place.
Now that you have taken into account the normal counter space required for the kitchen island, you now need to pay attention to the area required for other activities as well, such as:
- A space of around 4 feet for movement. You may need more area depending on how many people walk around the space.
- Space for opening all the drawers and kitchen cabinets, so that it does not get obstructed by a wall or other furniture.
- Space for accessing switchboards with ease. As the island should not cover it if you’re planning to move it to a wall.
While choosing the place, keep in mind the purpose of your kitchen island.
For example, are you going to use it for cooking? If yes, it would be more suitable for you to place it near the gas, isn’t it?
You can also keep track of any other chores you need to accomplish while working in the kitchen.
For example, if you want to keep an eye on your child while playing in the garden, you would prefer to have the kitchen island near a window or an opening.
Step 2: Make Sure the Kitchen Island Is Ready to Move!
This is a crucial stage in the process of relocating your kitchen island. You don’t want to leave your most valuable plates and bowls in one of the kitchen island drawers and have them destroyed during the move! This, however, may be a time-consuming task.
- Remove all the stuff placed on top of the island
- Remove the different items from each of the drawers and cabinets. To be on the safe side, cross-check if you have left anything inside by chance.
- Detach the doors, shelves, drawers, and cabinets of the island. And is possible to remove the counterpart of the kitchen island.
Make sure to place the removed parts and items somewhere safe so that you don’t go crazy searching for them. Removing the items inside, the doors, drawers, kitchen cabinets, and shelves reduces the overall weight of the kitchen island and makes the shifting much more effortless.
Tip: You might take advantage of this opportunity to replace the crockery sets you had in the drawers to better suit your new location. You can also add a new vibe to your kitchen by changing the style or color of the doors or drawers.
Step 3: Unanchor the Island
Sometimes the base cabinet of the kitchen island is anchored, so you will have to check if it is or not.
Give it a little nudge or push it to one side and check if you can move it. You should be pleased if you can move it because you have avoided additional work. This means that your kitchen island is unanchored, and ready to move.
If not, you will have to find where the island is anchored and what. The image below shows one way in which your kitchen island could have been anchored.
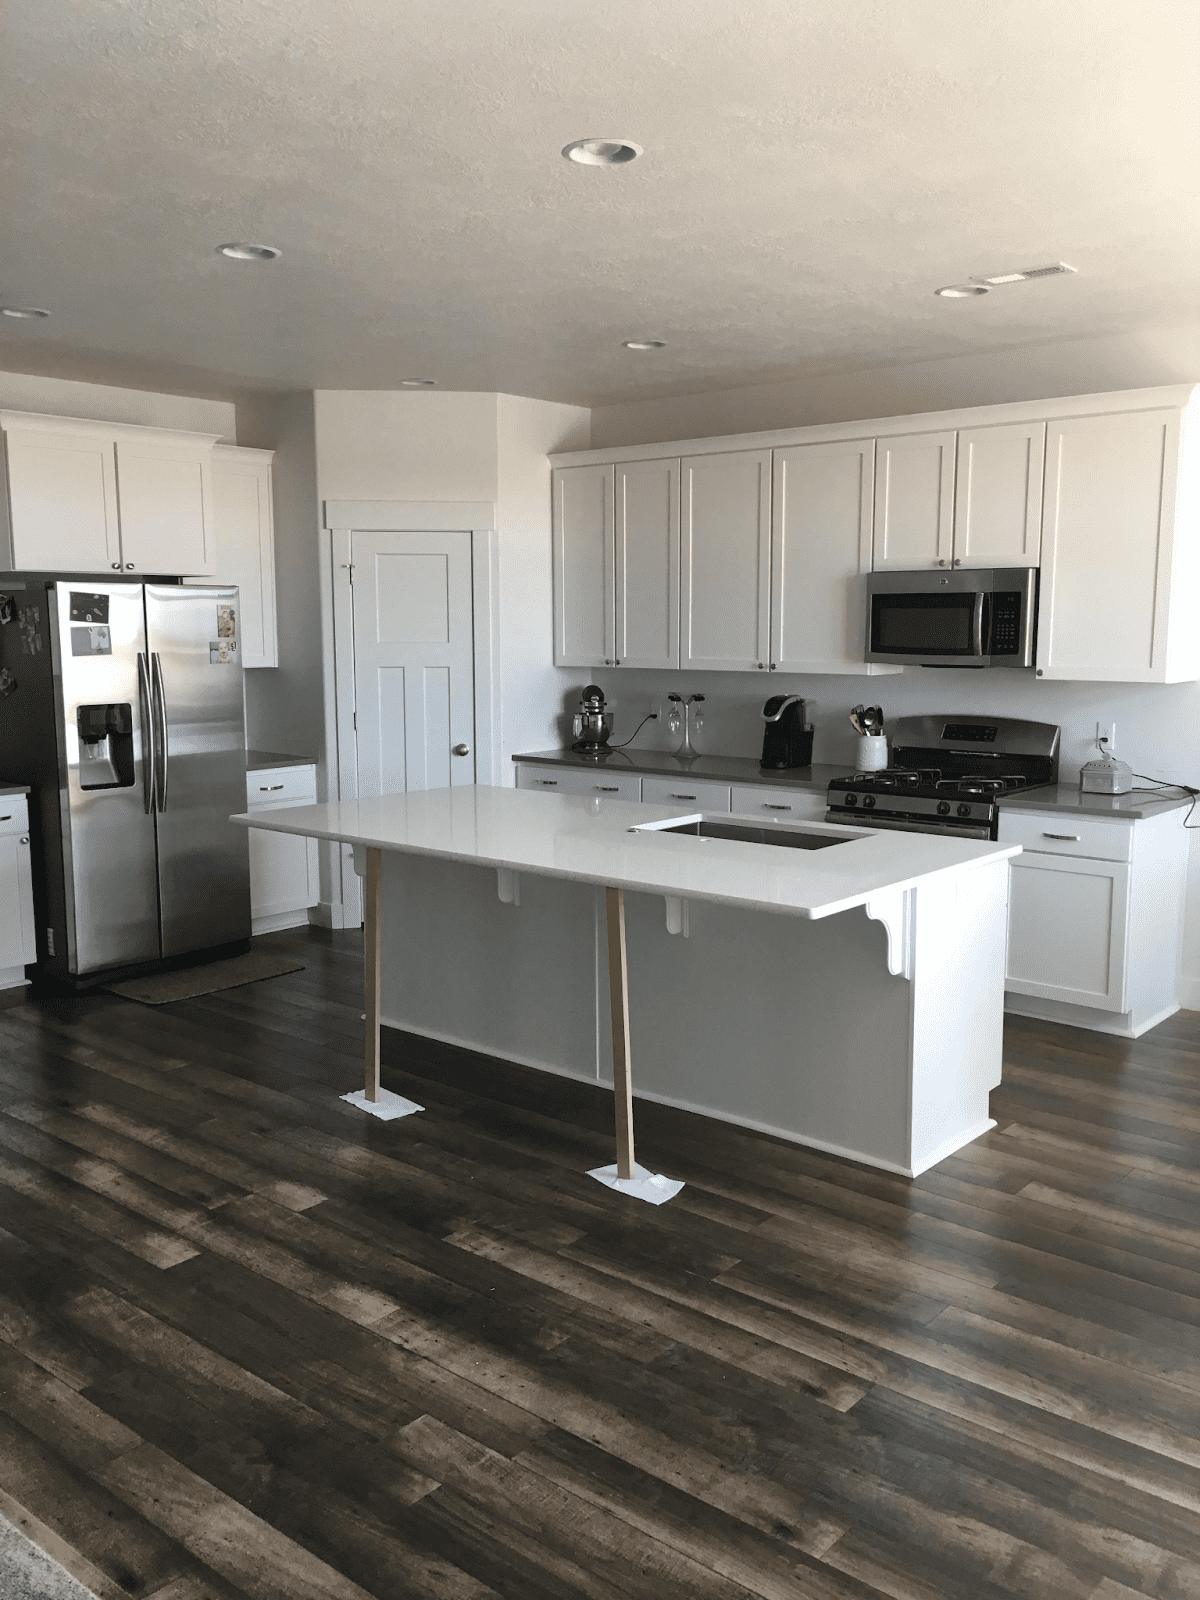
- Check inside the cabinet of the island and try to locate some screws through which the cabinet is attached. Check for the bottom part of the island and see if you can find something. Mostly the kitchen island is directly attached to the floor so do have a look at that.
- Once you find the screws through which it is attached, just unscrew the nails using a screwdriver.
Once unanchored, you are ready to move your island to your new location!
Step 4: Reinstall the Island
This would be quite easy to follow as you would have done this before when you installed your kitchen island for the first time. Just repeat!
Reinstall the kitchen island:
- Put the drawers and kitchen cabinets back inside the island, which you had removed in step 2.
- Arrange back the items you had inside the drawers and cabinets.
- Attach the doors back.
- Reinstall the counterpart on top of the island.
- Fix any left-out screws.
Kitchen island installation considers the systems associated with it, such as:
- Gas connection.
- Plumbing lines
- Electrical connections (switch-boards).
- Reinstall any appliances.
Note: Be careful while following this step as it involves some safety measures to be taken. You might need to get additional help from people such as plumbers, electricians, and gas agencies.
Step 5: Patch the Floor of The Previous Location of The Island
Some might consider this unnecessary, but it’s essential to make any repair to the old location. This would ensure that it does not cause any harm from left-out screws or ruin the overall look.
This would involve:
- Removing any holes n the floor or walls that were caused by the anchoring or any other attachment.
- Clean the area where the island used to be so that you don’t leave behind any dirt or mess.
- You would even have to do any painting or cleaning to the walls if the kitchen island attached. Due to the accumulation of dust the wall color could have faded.
Also, don’t forget to have a final check on the current location of the island. Look for any minor changes you would like to make.
Challenges You Could Face While the Movement:
Moving a kitchen island is not as easy as switching off/on your television. At times certain things can make the process complicated, some of which are listed below.
- Your kitchen island is large and heavy – This could be due to heavy compartments and counterparts of the island.
- Your kitchen Island is not movable – This could be because your kitchen island does not have wheels, or if it is anchored to the floor.
- You have any electrical outlet to your island – For example, it would be hard to run the refrigerator or the boiler if it is connected to a switch attached to the island itself.
- Requires patching of the floor on which the island was located earlier – This is not that hard to do, however could be time-consuming.
- Any appliance or possibly gas stove is on your island – You will have to disconnect any appliances and your gas stove till the time the island is reinstalled. This could be at times very inconvenient, also while reinstalling the appliance you would have to seek help from professionals like an electrician.
Regardless of the obstacles, you can move a kitchen island if you set your mind to it!
What Are the Alternatives to Moving a Kitchen Island?
Nowadays, there are multiple types of kitchen islands available in the market. You can choose to:
Opt for A Peninsula
A peninsula is a good alternative if you want kitchen islands but don’t have the room. If you’re wondering the difference between a kitchen island and a peninsula, it’s simple: a peninsula is attached to a wall on one end rather than being freestanding.

A peninsula, unlike an island, is accessible from three sides and serves as an extension of your kitchen layout, helping to separate sections in an open-plan kitchen. The benefits of opting for a peninsula include more significant counter space, access to more storage, and being suitable for small kitchens.
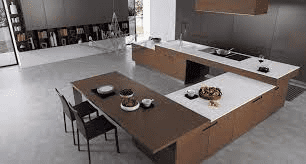
Change the Shape of The Island
Well, there are three significant types of kitchen islands:
U-Shaped
Because U-shaped kitchens feature three walls or cabinet sections, you’ll likely have enough storage space for the size of your kitchen.
You won’t have to walk to the other side of your kitchen for food prep or clean-up because your appliances will be closer together (particularly in smaller kitchens).
Last but not least, some homeowners like closed kitchen designs, and a U-shaped smaller islands form separates the room from the living and eating areas.
L-Shaped
An L-shaped island is formed by two walls or sections of the cabinet. In the center, there is generally an island. L-shaped islands are often spacious, with plenty of storage space.
Their spacious design means that the workspace isn’t congested, which is significant for families with multiple cooks.

T-Shaped
A t-shaped kitchen island is simply one that is formed like a “T.” People usually, choose this unusual design when they need more eating or working space.
The Ts can be any size or shape; you can use a larger countertop with a narrow table to create a larger workstation or a narrow countertop instead of a large table to create a smaller workspace.
One advantage of going with T-shaped kitchen islands is the extra space you’ll have.

Replace the Island Completely
This is as simple as it sounds. If you are renovating your house and craving a completely new look, you should probably look for a new kitchen island. And even if you are changing the location of your island, do think of this as it can save up your time and energy in moving it.
While incorporating an island into an existing kitchen design can be costly, it is a very low-cost job when compared to a complete kitchen redesign. According to the home services marketplace HomeAdvisor, kitchen islands range in price from $3,000 to $5,000.
What Is the Cost of Moving a Kitchen Island?
Generally, moving a kitchen island would not cost much as most of the work you would do. Unless, if you’re planning to hire someone for the job, it would add up the labor cost of the person. However, I would suggest you do it on your own, and you can consider this as your weekend exercise!
According to EverythingWhat , the cost of moving kitchen islands are approximately $20,000 to $40,000 or more.
Takeaway
Upgrading your kitchen with changes is always a great adventure to go through. If this adds up to your house’s overall aesthetics and appearance, then it is like the cherry on top of a cake. Moving your kitchen island can be a little fuss at times, but you won’t regret it once done.
![How Much Does It Cost to Build a Kitchen Island? [Custom Made+DIY]](https://houseadorable.com/wp-content/uploads/2022/03/cost-of-kitchen-island.jpg "How Much Does It Cost to Build a Kitchen Island? [Custom Made+DIY]")
![Kitchen Island Table Height [Explained With All Aspects]](https://houseadorable.com/wp-content/uploads/2022/03/kitchen-island-height.jpg "Kitchen Island Table Height [Explained With All Aspects]")
![16 Types of Kitchen Faucets Explained [With Pros + Cons]](https://houseadorable.com/wp-content/uploads/2023/02/Roca_griferia_cocina_mencia_negro_DEF_900x505_acf_cropped-1@2x-250x250.jpg "16 Types of Kitchen Faucets Explained [With Pros + Cons]")
![Granite Vs. Marble Vs. Quartz Countertops [12 Differences+Pros & Cons]](https://houseadorable.com/wp-content/uploads/2022/03/quartz-marble.jpg "Granite Vs. Marble Vs. Quartz Countertops [12 Differences+Pros & Cons]")


![How Long Does it Take to Install Kitchen Cabinets? [Steps Explained]](https://houseadorable.com/wp-content/uploads/2022/07/kitchen-cabinet-installation.jpg "How Long Does it Take to Install Kitchen Cabinets? [Steps Explained]")