Do you have water damage in your kitchen cabinets?
You may need to act swiftly.
Water can damage the inner and outer layers of your wooden kitchen cabinets. It can also destroy the cabinets’ finish, cause structural damage and, in some cases, render your cabinets useless.
Statistics show that 37% of homeowners in the U.S have suffered water damage. These figures underline the danger that water can cause if not dealt with.
Source: waterdamagedefense.com
Does that mean it’s an entirely hopeless situation?
No, not at all.
Well, concerning the kitchen cabinets, you can take care of water-damaged kitchen cabinets.
This article will guide you on how to repair kitchen cabinets after water damage.
We will also share tips to prevent future water damage.
JUMP TO: Repairing Kitchen Cabinets with Water Damage | Repairing Particle Board Water Damage | Repairing MDF Water Damage
Steps for Repairing Kitchen Cabinets with Water Damage
Here is a step-by-step guide on how to repair kitchen cabinets with water damage.
Empty Your Cabinets
Emptying your cabinet doors should always be the first step!
Throw away any foodstuff in a bag or box because it’s most likely poisoned by this time.
However, you can keep any food in plastic or glass jars.
Moreover, throw away paper items. Wash the towels and other fabrics that were in the cabinet.
Remove the Water
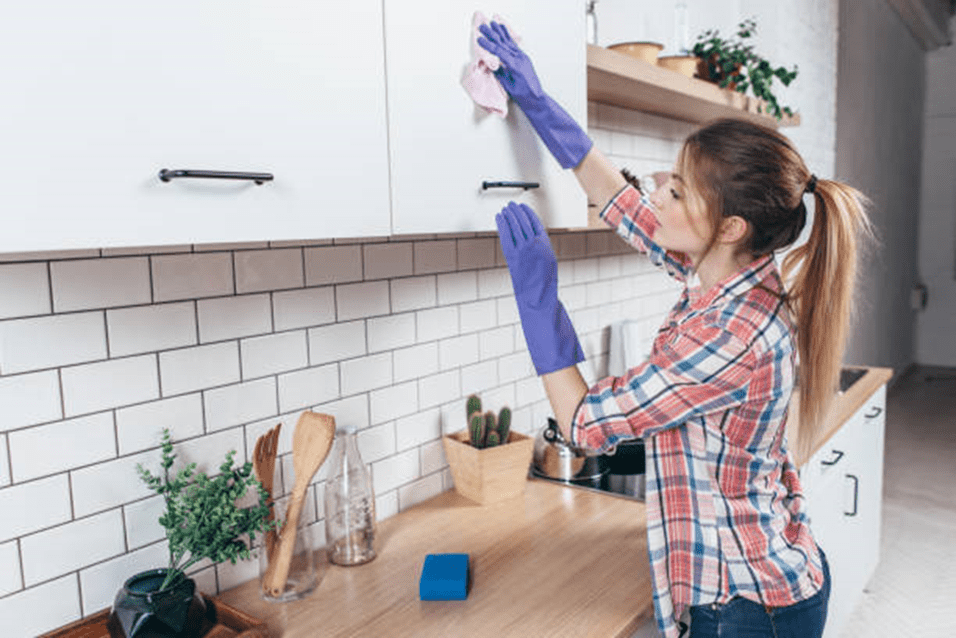
Source: istockphoto.com
Get rid of all the water!
If you allow water to stay in your kitchen cabinets, it will cause more damage. Consequently, remove as much of it as possible.
You can use:
- blankets
- thick towels
- dehumidifiers
- commercial air movers
Don’t forget to dry out the kitchen cabinets with rags and towels.
Remove Cabinet Doors
How do you ensure fast drying of your cabinets?
The answer is to remove the doors of the kitchen cabinets.
But it’s not all about faster drying!
The entire cabinet door weight can cause the wet particle board to crumble or sag more. So, removing them will help minimize the damage.
Fan the doors to dry, then lay them flat to prevent warping.
Dry Wet Cabinets
Drying the wet kitchen cabinets is easy when doors are out of the way.
Avoid using household fans as they can take too long to dry the mess.
Instead, use structural drying dehumidifiers and high-volume fans. You can rent the equipment from a rental company.
This process can take a day or more, depending on the number of equipment you have and the extent of the damage.
Important Note: Remember to dry underneath and behind the cabinets.
Repair the Cabinets
The repair will vary based on the extent of water-damaged cabinet doors.
For instance, if you have delaminated cabinets, apply carpenter’s glue between the layers. Then, press them back together using clamps.
Replace Damaged Cabinets
Desperate times call for desperate measures!
Sometimes, the water-damaged kitchen cabinets can be beyond repair. One such instance is when the kitchen cabinets have started crumbling.
Unfortunately, no amount of repair can fix them at this point. The only option is to replace them.
Replacing cabinets is costly; basic and mid-grade cabinets will cost you $3,200-$8,500. High-end custom cabinets will cost you from $12,500-$18,100 on average.
However, it’s the only way out at this point.
Also Read: How to Get Rid of Cockroaches in Kitchen Cabinets?
Clean Water Stains
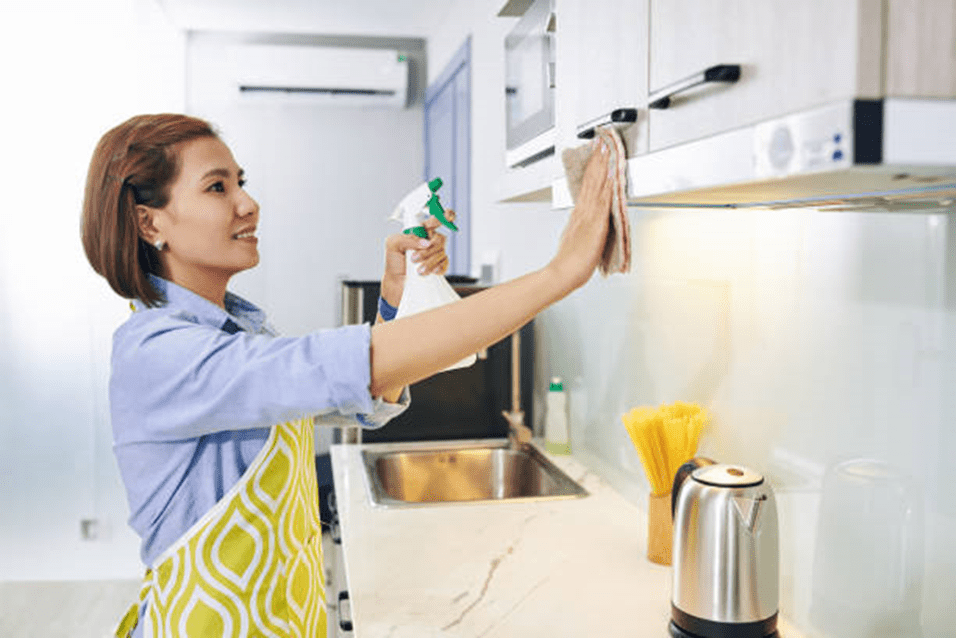
Source: istockphoto.com
After repairing water-damaged cabinets, water stains remain on the surface.
A mixture of oxalic acid and water is perfect for removing the stains from wood.
Caution: Do not leave oxalic acid on the wood; it can damage the finish.
After using the acid, clean the kitchen cabinets with baking soda and water. A soft-bristled toothbrush or a damp sponge is ideal for the application.
Apply on the stains, then leave it for a few minutes before rinsing off with clean, plain water. Dry with a clean sponge.
Disinfect and Deodorize
Why do you need to disinfect your kitchen cabinets?
Mold and odors are likely to develop after water damage.
To prevent this occurrence, wipe your inside cabinet and cabinet door with a solution of bleach and water. Doing so will kill bacteria and mold and remove smells.
Caution: Do not use bleach on unpainted kitchen cabinets because it can damage them.
You can use baking soda repeatedly for strong odors for a couple of days.
Tip: If you want to have back shiny kitchen cabinets, allow them to dry overnight.
Refinish Your Cabinets
This process involves sanding the kitchen cabinets to remove the existing finish. Then, wipe them with a damp cloth to remove dirt and dust.
Allow the wood to air dry, then apply sealant.
What should I finish my cabinet with?
There are several options. However, you can consider oil-based polyurethane for three main reasons:
- It will give your cabinets a lustrous finish
- It works well with all wood types
- It’s ideal for deepening the wood’s color
Several homeowners also prefer melamine finishes because they are versatile and highly durable.
How to Repair Water-Damaged Particle Board Cabinets
Research shows that particleboard is the most commonly used material in many homes, especially for kitchen cabinets.

Source: researchgate.net
It is strong, smooth, and beautiful.
However, prolonged exposure to water can cause the board to swell and become uneven.
Here is how you can repair water-damaged particle board cabinets at home!
Dry the Affected Surface
Once you discover water-damaged kitchen cabinets, dry the wet section.
You can leave the board to dry naturally or speed up the process using a hairdryer.
Although natural drying is effective, it takes a lot of time.
If you prefer to use a hairdryer, aim it at the wet area and hold it for a while. This way, the board will have a chance to dry evenly.
Buff the Raised Spot with a Sandpaper
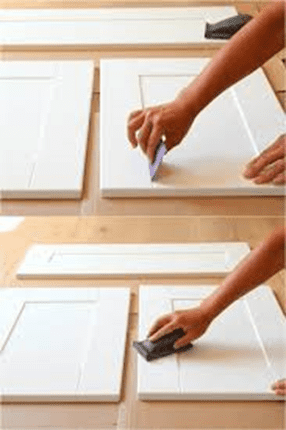
Source: apieceofrainbow.com
Once the board is completely dry, you may notice that the water-damaged spot is uneven.
Using sandpaper, buff off the raised spot to level out the surface and remove the damaged section.
Important note: Use medium-grit sandpaper first to remove the damaged portions of the particleboard. Then, use finer grit sandpaper for a smoother finish at the final stage of buffing.
Finish off with a waterproof coating to block any wetness in the future.
Tip: After applying a waterproof coating, set your particle board aside to dry fully before proceeding with the repair process.
Cut Out the Water-Damaged Areas Using a Knife
Next, you will need to remove the damaged sections of the particle board.
These include the powdery spots.
Add Wood Filler to the Holes
So, how will you fill-up the holes left after cutting out the damaged areas?
Using a plastic wood filler.
Apply the apply plastic wood filler into the holes with a scraper or knife. Ensure that it is level with the board’s surface.
Scrape off the excess filler to get an even, smooth surface.
Caution: Be sure to read and follow the instructions of use provided on the wood filler label.
Sand the area
Congratulations! You’re almost done!
The final step is to sand the repaired area.
Once the filler has dried, work on the surface using fine-grit sandpaper. This sanding ensures a smooth and even particleboard.
Then, apply another coat of waterproof seal to protect kitchen cabinets from the effects of water damage in the future.
Important note: If your particleboard has extensive water damage, consider replacing the affected sections instead of repairing them.
How to Repair Water-Damaged MDF Kitchen Cabinets
MDF and plywood are other popular woods among homeowners for kitchen cabinets. MDF, especially, can handle extreme temperatures.
However, it is still susceptible to water damage.
When it gets wet, it swells and can deteriorate fast if no step is taken to repair the damage.
So, what should you do with water-damaged MDF and plywood kitchen cabinets?
Here is how to repair them:
Assess the Situation
You cannot repair something you have no idea about, right?
Therefore, check the condition of your wood and the extent of water damage before attempting any repairs.
If the water damage is significant, you may notice separated or crumbled MDF particles. It would be better to replace the cabinets entirely in such a case.
But if there are only a few swollen sections, you can repair the cabinets independently.
Repair the MDF Cabinets
The repair process is not complicated. You can do it!
You will only need:
- Sandpaper
- Wood filler
- Resin glue
- Primer
- Paint
- Water-resistant sealant
Ensure that your MDF cabinets are completely dry before repairing them.
Here is how the repair process goes:
Sanding
Sand the swollen parts repeatedly with coarse-grit sandpaper to even out the surface. Also, sand the areas affected by water.
You may need to change the sandpaper several times to achieve consistent results.
Resin Glue
Apply some resin glue on the areas that the sandpaper may not reach, such as seams, cracks, and pits.
Put an even coat of glue and leave it overnight to dry.
Note: The resin glue shrinks when drying. Please don’t beat yourself over this; it is perfectly normal!
Wood filler
Apply your wood filler over the seams and cracks that resin glue couldn’t fill. You can use a blunt knife or spatula for this purpose.
The filler should be as even as possible and preferably left to dry overnight.
It doesn’t shrink.
When it dries, smoothen out the surface with coarse-grit sandpaper.
Finishing up
Are you happy with the results so far?
Here are the finishing touches:
Priming
A primer has three main benefits:
- Ensures that the paint sticks well to the MDF
- Helps seal the MDF particles together
- Adds a layer of protection to MDF and plywood against water damage
Tip: Use oil-based or alcohol-based primers instead of water-based primers. Water-based primers are not effective as they get absorbed into the MDF.
Painting
Once the primer is dry, you can go ahead and paint the cabinets.
Apply a coat or two of your preferable water-resistant paint.
However, the color should match the original color of the cabinets for consistency.
Sealant
Your cabinets are probably looking as good as new.
But you are not done yet!
Apply a sealant on your cabinets for extra protection against water damage.
Be keen to notice musty smells and repair any water damage right away.
![How to Disinfect Wood Cutting Board? [5 Methods]](https://houseadorable.com/wp-content/uploads/2023/01/1466451602030.jpeg "How to Disinfect Wood Cutting Board? [5 Methods]")
![Can You Put A Wooden Cutting Board In The Oven? [Answered]](https://houseadorable.com/wp-content/uploads/2023/01/clean-wooden-cutting-board-4772583_01-2aba9de81be84c55a8e1dbb63822b806-scaled.jpg "Can You Put A Wooden Cutting Board In The Oven? [Answered]")

![16 Types of Kitchen Cabinet Finishes [Features + Pros & Cons]](https://houseadorable.com/wp-content/uploads/2022/10/cabinet-finish.jpg "16 Types of Kitchen Cabinet Finishes [Features + Pros & Cons]")

![How to Increase Water Pressure In My Kitchen Sink? [Methods Explained]](https://houseadorable.com/wp-content/uploads/2022/12/water2.jpg "How to Increase Water Pressure In My Kitchen Sink? [Methods Explained]")
![Acrylic Vs. Lacquer Kitchen Cabinets [Types+7 Differences Explained]](https://houseadorable.com/wp-content/uploads/2022/11/acrylic-kitchen-cabinets-for-your-home.jpg "Acrylic Vs. Lacquer Kitchen Cabinets [Types+7 Differences Explained]")
![[A] Water Heater Not Heating After Replacing Elements and Thermostat](https://houseadorable.com/wp-content/uploads/2023/08/water-heater-not-heating-after-replacing-elements-1-250x250.png "[A] Water Heater Not Heating After Replacing Elements and Thermostat")